No. 9: Deconstruction
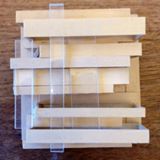
No. 8 basket was completed on Monday, October 3, 2016 sometime after midnight. This basket was my attempt to understand a Japanese basket that I had purchased in California. You can see the original in a couple of the images below. This was my first attempt to learn/make from an existing basket, going from basket to sketch to understanding to weaving.
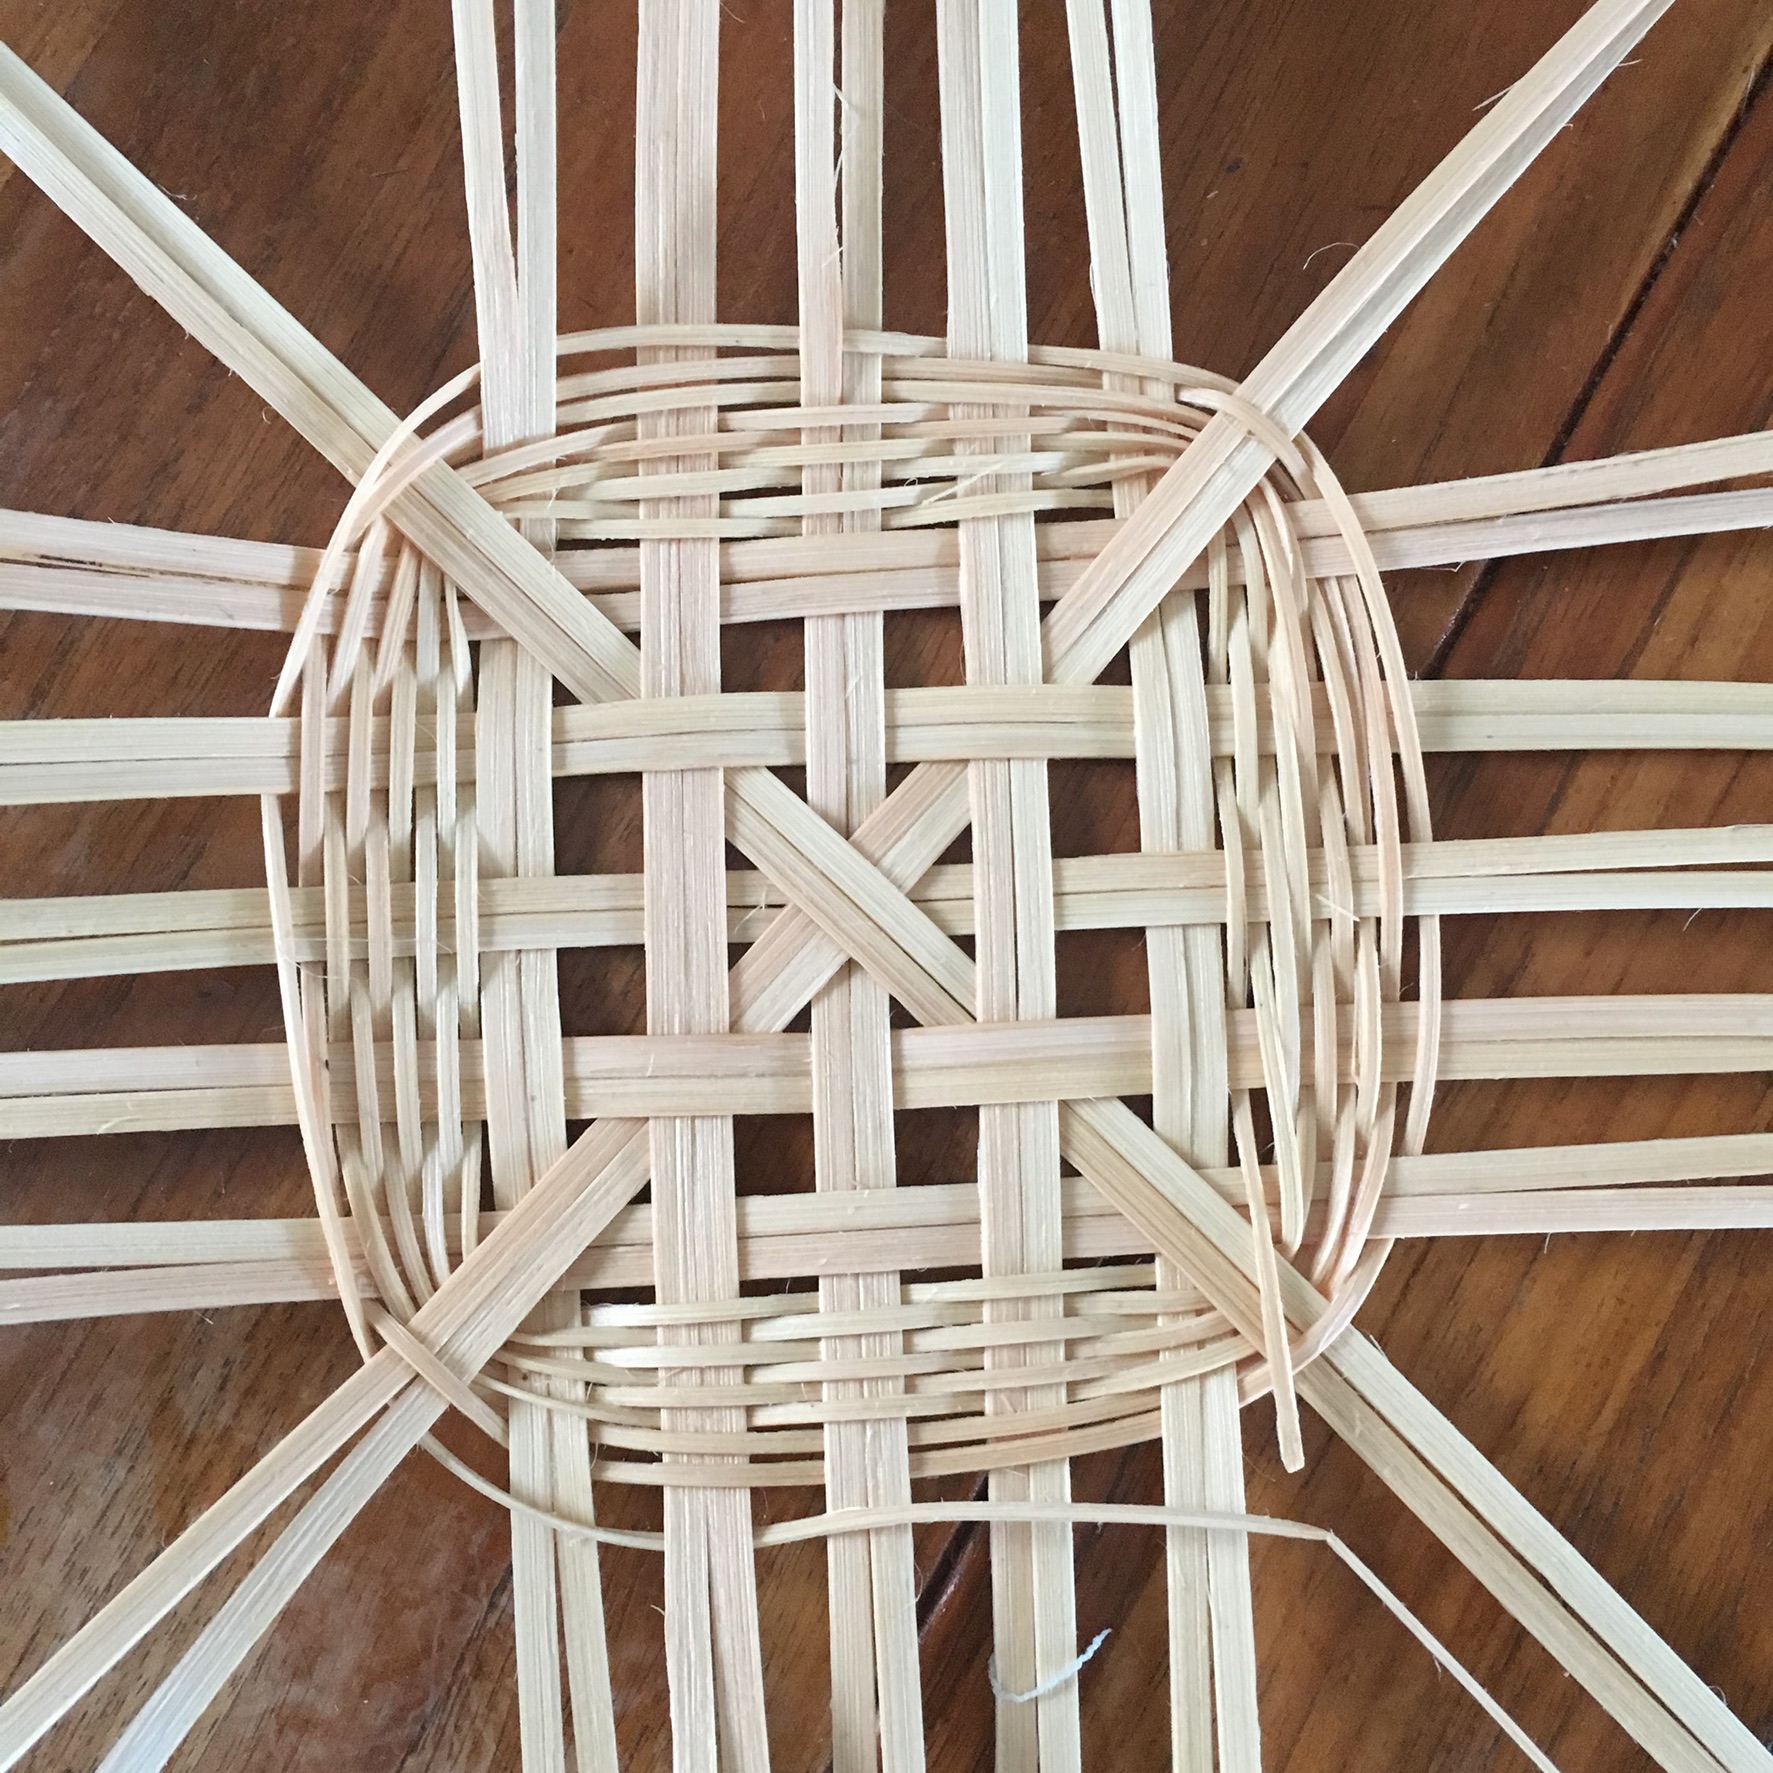
The basket presents three ideas that I was interested in exploring. The first is the base, which is made up of paired standards. This means that 2 pieces instead of the typical single are paired together to form a single upright. This accomplishes an amazing thing: it allows for one pair to be split into 2 after the weaving has begun giving an odd number of standards, which in turns allows for a continuous weave (meaning you don't have stop-start-stop the weave). I found this to be a very clever solution to the question of how to allow for the continuous weave.
The second element of interest is the unique rim. This is achieved by taking the paired standards and wrapping them over and under themselves. This is simultaneously simple and complex. It makes the construction simpler because no additional material is needed to put a rim on the basket other than what is required to begin. The idea that that which one begins with is also that which one ends with is philosophically satisfying. The complexity lies in the thinking required at the start of the weaving process. One must have a clear plan of the basket to allow for the material necessary to complete the work. This is something I have seen a number of Japanese baskets where an upright will turn into a handle and then back into an upright again. The planning for some of the baskets I have seen is incredible. For me this is the essence of 'less is more.'
The third element is the handle itself which is a simple overlap of two pieces, using a type of string to secure it; again very simple yet offering a level of interest that I found compelling. And perhaps fourth would be the shape of the basket itself, which has a wonderful curvature starting right from the base (this I have found to be very difficult and will require much practice). The original basket is made of bamboo, the uprights and weavers are of equal thickness, the handle stained and wider bamboo, and in addition there are two small pieces of bamboo added to the base used as skids which protect the base from wear.

Image showing the detail at the rim
For my own basket I used a pairing of 11/32" flat reed for the uprights (the verticals); the weavers (horizontals) are the same size reed but split in half to achieve a 11/64" width. With this basket I started sanding all my reed before soaking which seems to get rid of a fair number of the loose hairs making later clean up easier.
The curve on the basket got away from me rather quickly. I pulled too tightly as I was moving upwards and therefore ended up with a very small opening. This in and of it self isn't bad, and in fact I rather like the spherical nature of the final form. However, it did make the rim harder to weave, but gives the appearance of the top being "cinched" like a sack or bag. However, it was not the look or shape I was working towards (more practice...)
The handle has is simply made out of two pieces of no. 6 round reed pointed at the ends and inserted through some of the lower weavers. I need to find of a better way to secure the handle as it can slip out in its current state. The top of the handle is wrapped with more reed.
As can be seen in the picture some of the weavers are rather loose. Unfortunately, I did not notice this until I was well past them, and because of the basket's curvature, could not go back and tighten them. Lesson: check every three or four rows to make sure things are tight and in place.
Overall I was very happy that I could figure out this base, the rim, and the simple creativity that went into the handle. For a first pass at this style of basket it certainly was a learning experience, but a positive one filled with possibility and future growth.
Next steps: do it again. Another basket of similar style, perhaps with different standards and/or weavers. Focusing on the overall shape to be more in control, and to make sure that the weavers remain tight. My daughter would like to see some color or stain in the baskets, blue of course...something to think about.

Sketches trying to understand how the original Japanese basket was made

Comparing the new weaving to the old

Studying the curve
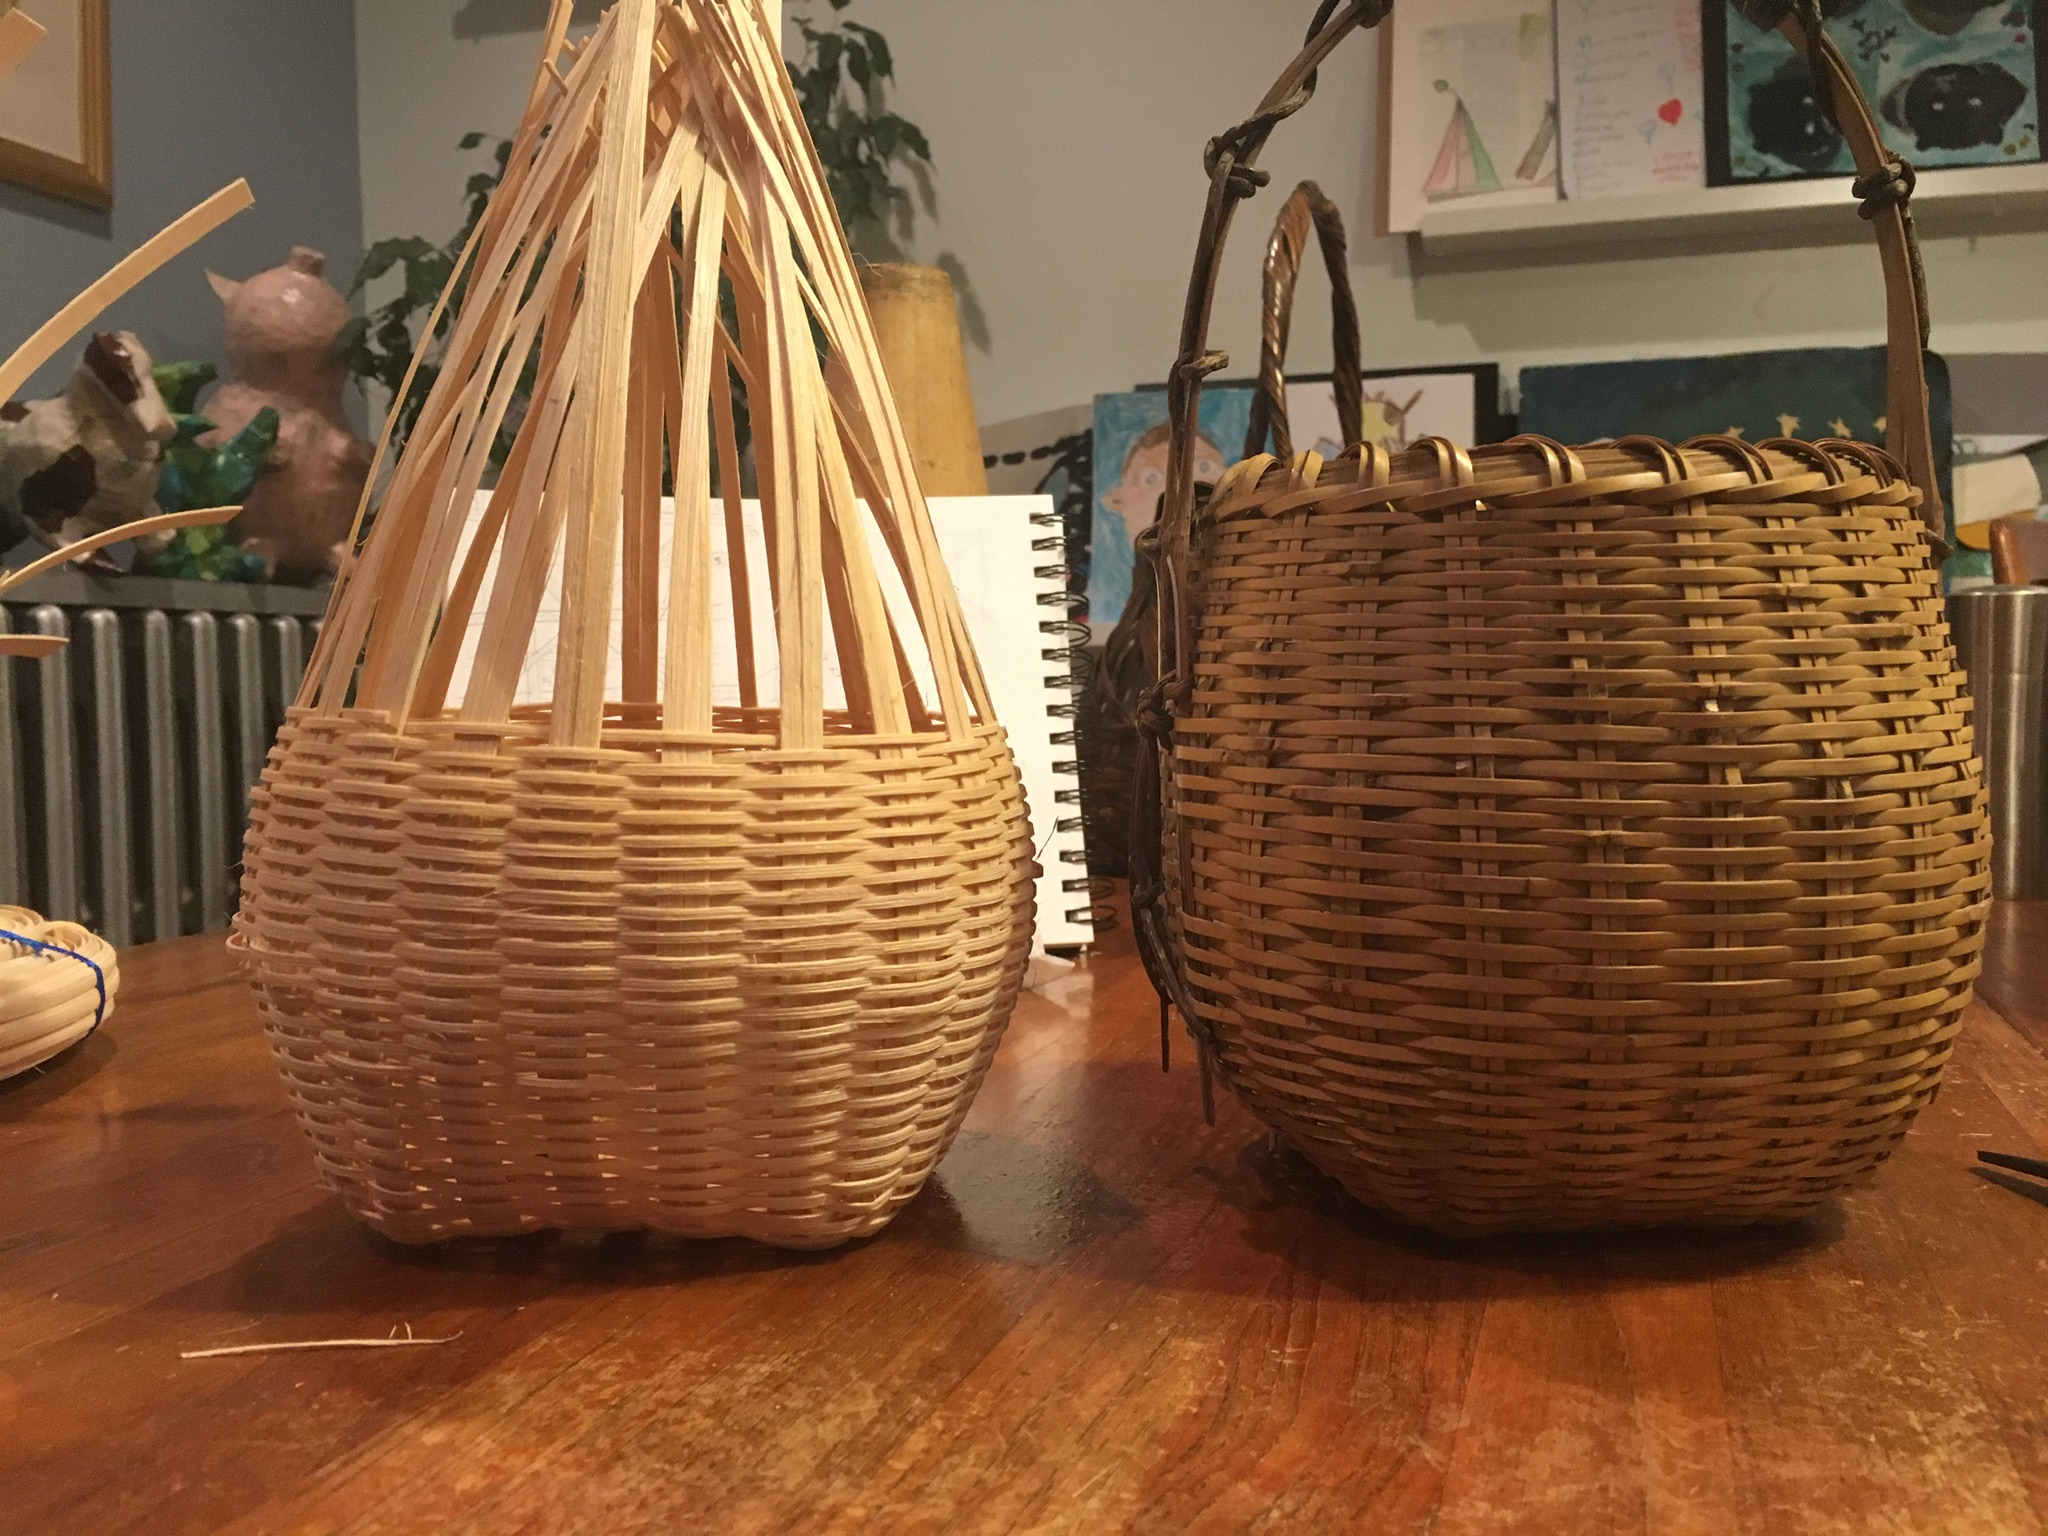
New and old, can already see that the shape is off.

The woven rim

Mostly finished basket

Detail at the handle